
 image credit Francesco Gallarotti (@gallarotti), via Unsplash
BOSH is an infrastructure-agnostic VM-management tool that manages the entire lifecycle of your VMs and resurrects them if they fail. All of these features come at the cost of complexity.
Enter Genesis.
Genesis is a tool and paradigm for easily managing complex BOSH deployments. But you won't have any BOSH deployments if you don't first have BOSH, so Genesis also allows users to easily deploy a BOSH director in the first place.
This blog post will walk you through using genesis to deploy a BOSH director on vSphere.
The prerequisites for following along with these steps are:
BOSH requires some basic knowledge about your vSphere installation in order to deploy. We'll need to go ahead and jot down that information now, so that we can reference it later in this guide.
First, you'll need your vCenter hostname (or IP address) and its login credentials.
Second, you'll need the name of the cluster that we'll deploy BOSH to. You can find this out through the dropdown Menu > Hosts and Clusters and then clicking on the Hosts & Clusters page. A list of available clusters will populate the page; write down the name of the cluster you wish to deploy your BOSH to.

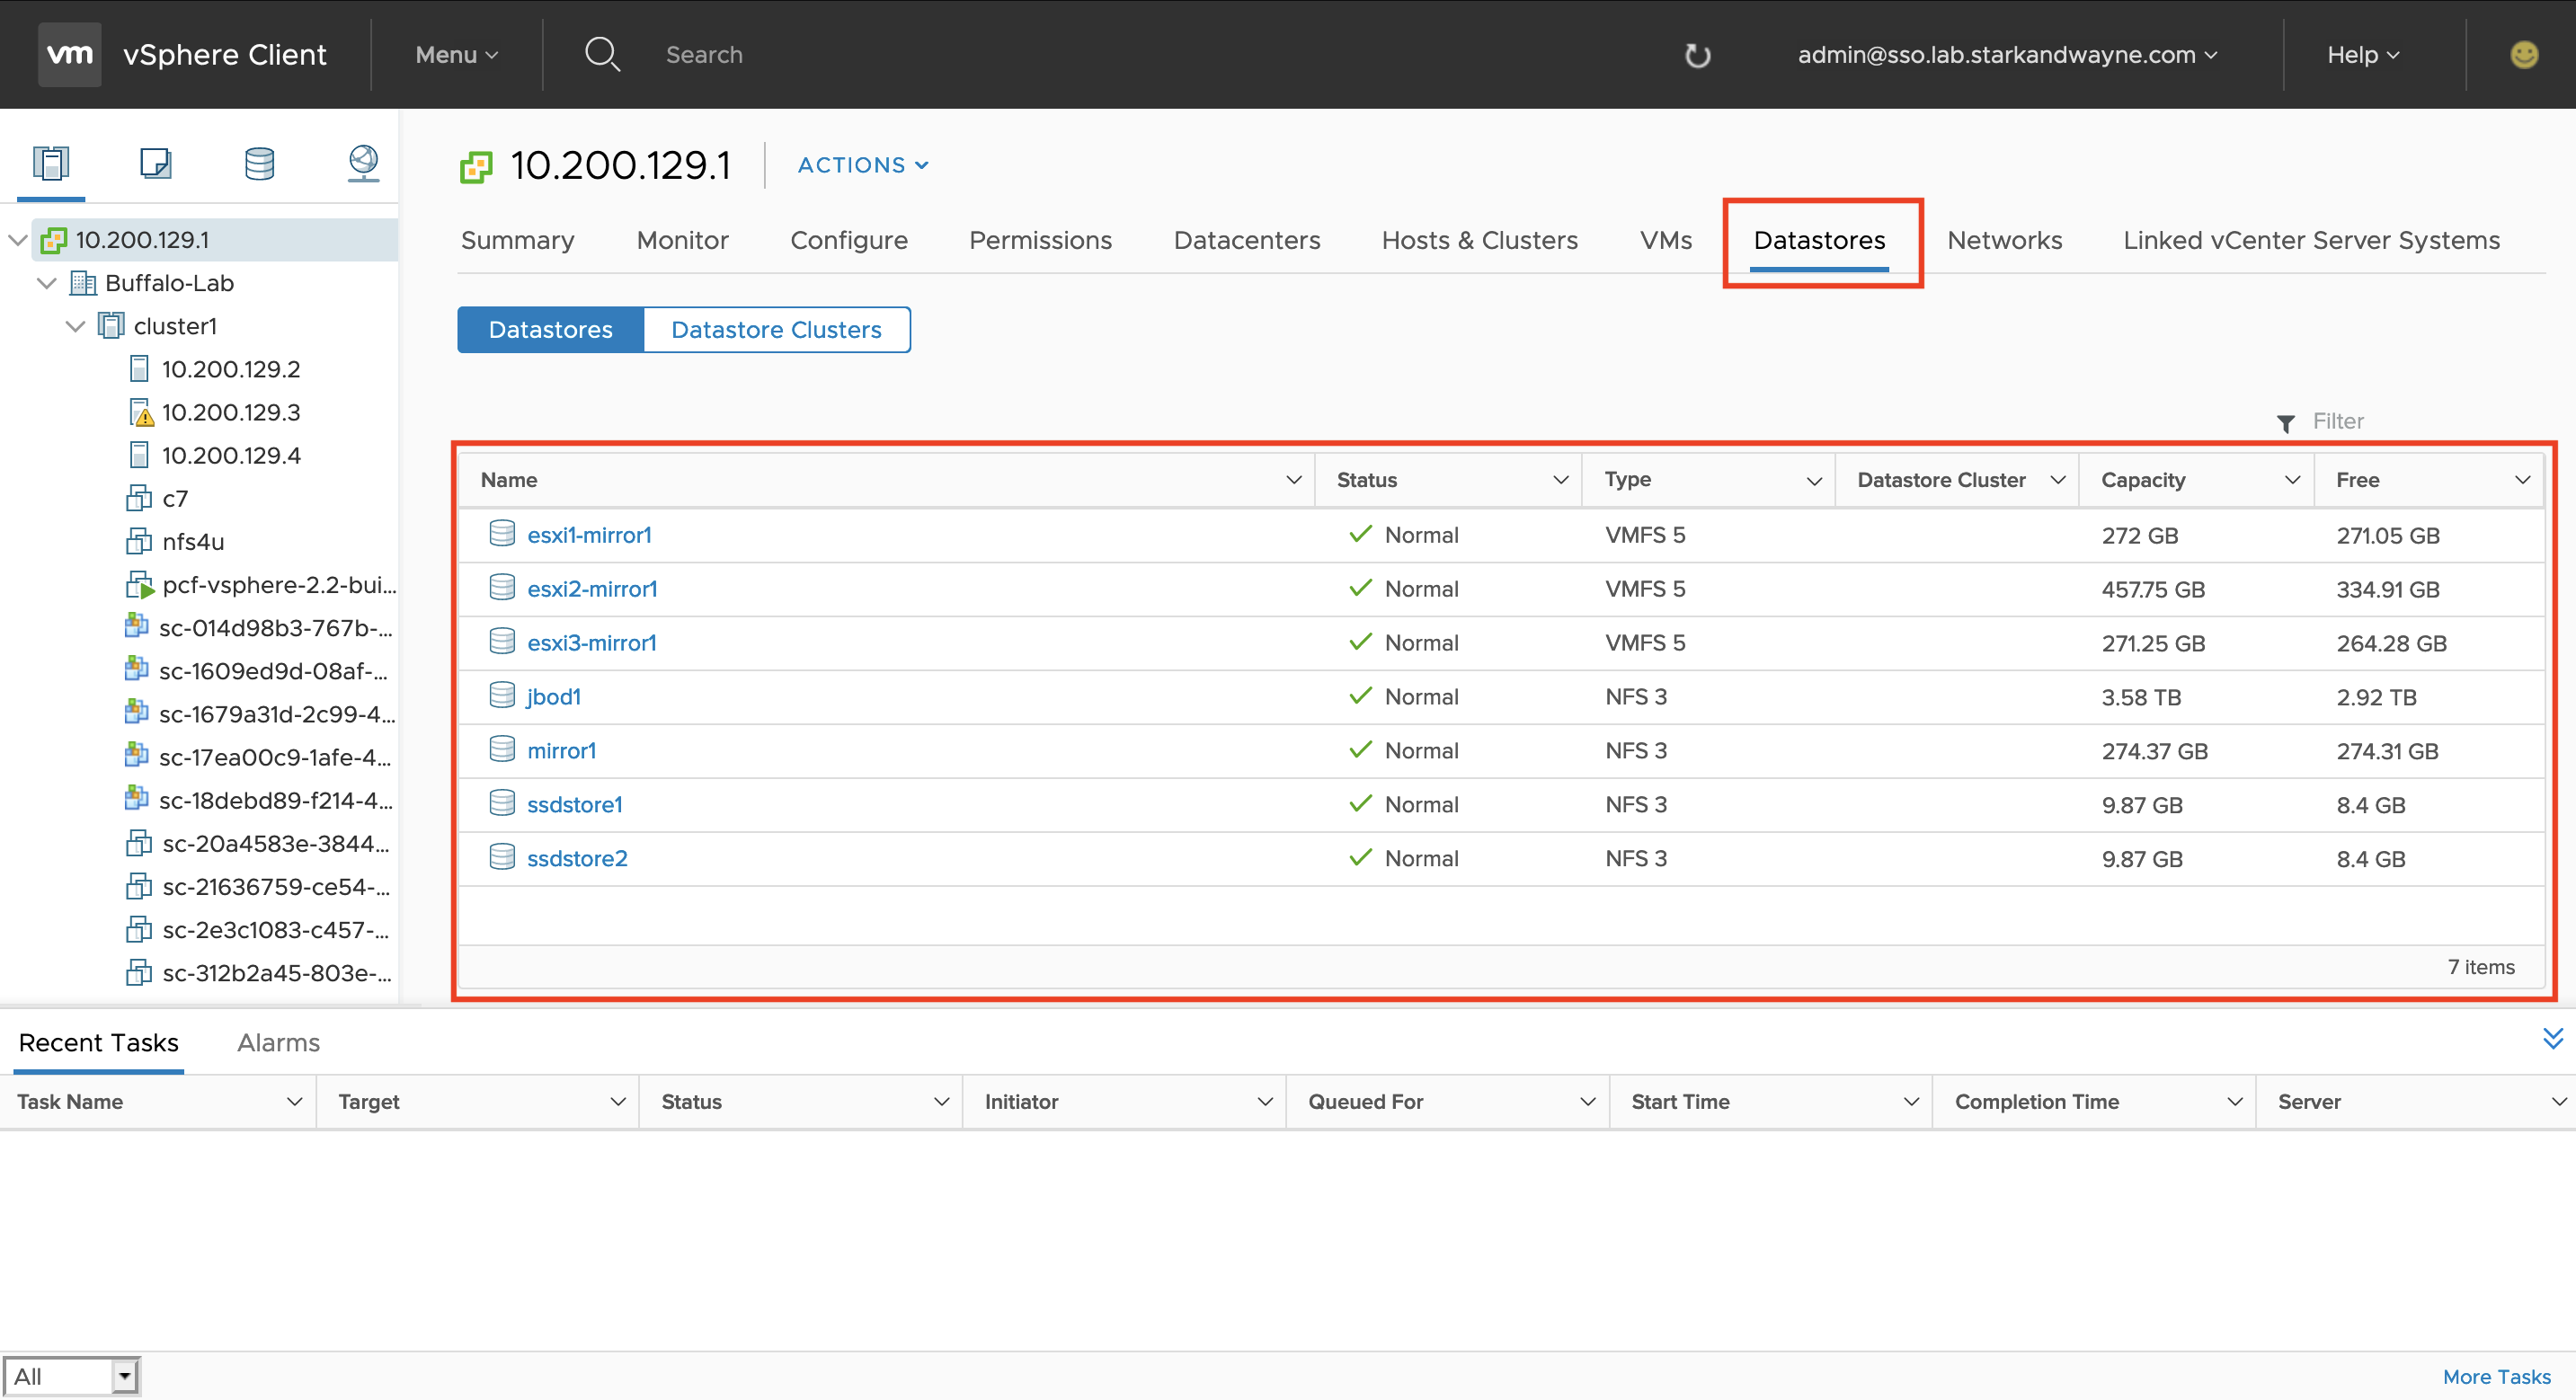
Third, you'll need to get the datastore information by clicking on the Datastores tab. A list of available datastores will populate the page; write down the name of the datastore you wish to deploy your BOSH within. You'll want one with at least a few hundred gigabytes free.

Fourth and finally, you'll need the name of the network that your BOSH director will be deployed to and do its own deploying to.
All of the commands that we'll run to deploy BOSH should be run from a bastion host deployed as a VM to your VSphere. This should be built from a Linux image of your choosing.
Once your bastion host is deployed, install all of the tools you'll need by running the following:
sudo curl -o /usr/local/bin/jumpbox https://raw.githubusercontent.com/starkandwayne/jumpbox/master/bin/jumpbox sudo chmod 0755 /usr/local/bin/jumpbox jumpbox system
This installs genesis itself, as well as a few other command line tools that
are required, such as safe, spruce, jq, and
more. To see a full list of what was installed,
just run jumpbox with no arguments.
Next, configure git:
git config --global user.name "YOURNAME" git config --global user.email "YOUREMAIL"
One final note before we jump into BOSH and Genesis: tmux is an
amazing piece of software.
It's a terminal multiplexer that lets you run lots of terminal sessions, across a single SSH link. If you get disconnected, have to reboot your laptop, or just want to unplug for a long weekend, your tmux session will still hum along happily on the remote server.
To use tmux, just run tmux from the bastion host (that's important!)
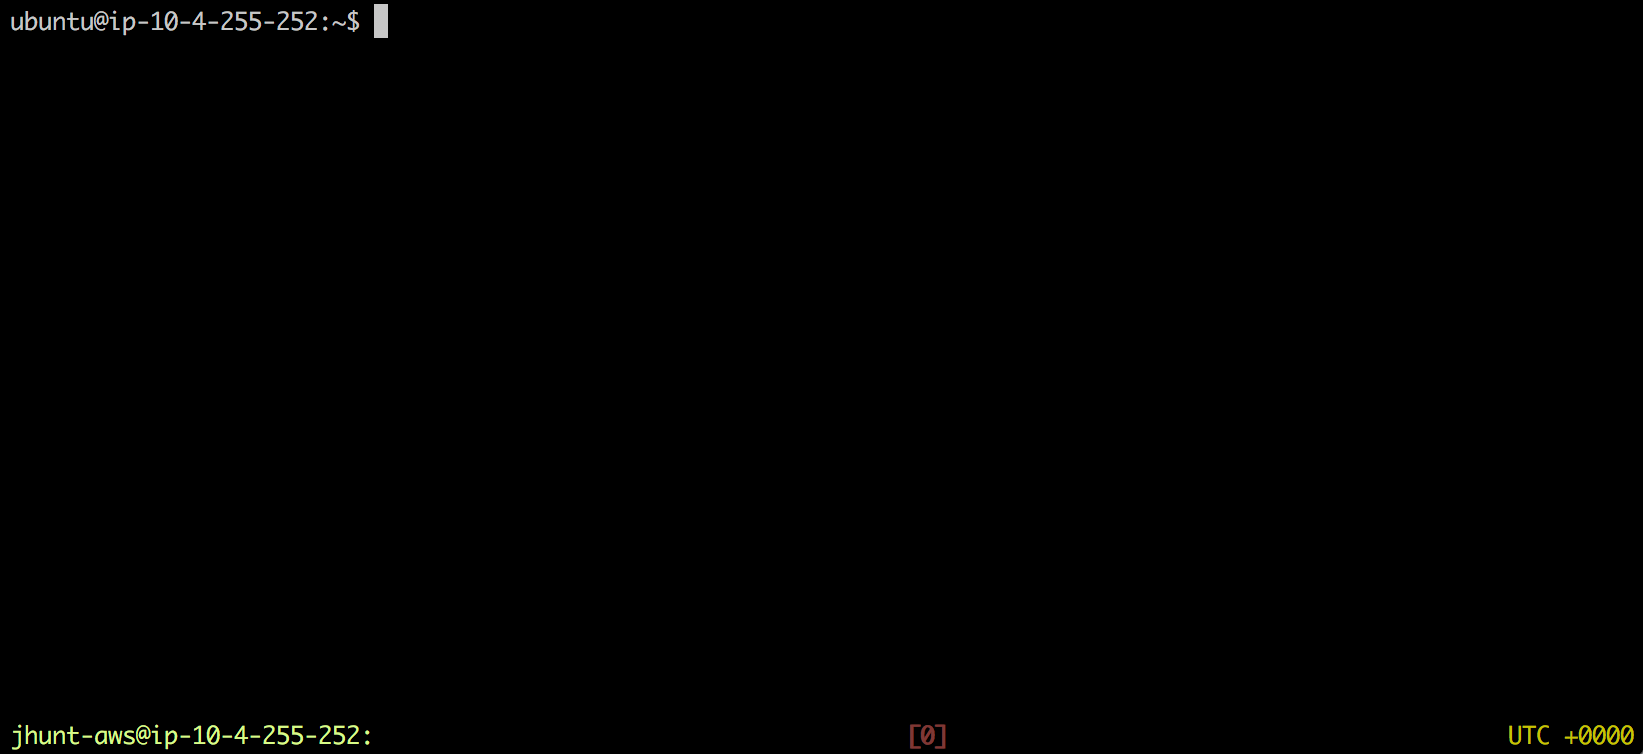
It should look something like this:

For the rest of this article, I'm going to assume you're doing everything from a tmux session. There's a tmux cheat sheet out there if you aren't 100% comfortable in tmux.
Genesis leverages Hashicorp Vault to generate and securely store passwords, SSH keys, X.509 certificates and more. Once we get a BOSH director up and running (our very next task, actually), we will use it to deploy a Vault instance. Until we get that far, however, we need an initial Vault to jumpstart the process.
This is where safe proves valuable.
Safe (an alternative command-line interface for Vault) provides the means to run a local Vault instance, on loopback. It's so easy, we won't have to worry about configuration, process management, or unsealing / initializing our nascent Vault.
So, without further ado:
$ safe local --memory --as init Now targeting (temporary) init at http://127.0.0.1:8201 This Vault is MEMORY-BACKED! If you want to retain your secrets be sure to safe export. Ctrl-C to shut down the Vault
This gives us a memory-backed Vault, named init. If we kill the
process, we will lose all the secrets. That might seem like a bad
thing, but we only really have to get through two deployments (about 2
hours wall time), and a memory-backed initial Vault won't leak
credentials as easily.
Once the local Vault is up and running, we can interact with it via
safe:
$ safe tree $ safe paths
etc.
To deploy anything with Genesis, you use a Kit. Kits abstract away the complexity of configuring BOSH releases and BOSH manifests.
Specifically, we are going to use the (unsurprisingly-named) BOSH
Genesis Kit. Since this our first deployment of BOSH, we're going
to initialize a new set of deployments, using genesis init (remember
to do this from a tmux session):
$ mkdir ~/ops $ cd ~/ops $ genesis init -k BOSH Downloading Genesis kit BOSH (latest version)...
Initialized empty Genesis repository in /home/ubuntu/ops/BOSH-deployments using the BOSH/1.2.1 kit.
The genesis init command creates a deployments directory for the
type of thing you are deploying (in our case, BOSH), and then
downloads a Genesis Kit from GitHub.
Next, we need to write an environment file for our new BOSH director.
$ cd BOSH-deployments $ genesis new test-vsphere
Genesis will then ask a whole bunch of (pertinent) questions about your configuration, infrastructure / cloud provider, and your preferences. First up, Genesis needs to know what Vault to store your credentials in:
Known Vault targets - current target indicated with a (): () init (insecure) http://127.0.0.1:8201
Which Vault would you like to target? > init Now targeting init at http://127.0.0.1:8201
The next question is about proto-BOSH vs. regular BOSH. A proto-BOSH director is the root level BOSH in a genesis deployment. We don't yet have a BOSH director, so we need to deploy a proto-BOSH. Say "y" here.
Is this a proto-BOSH director? [y|n] > y
After that, Genesis asks a series of questions about the networking for this director. These answers completely depend on the network setup and IP allocation on your vCenter. The values provided below are just examples.
What static IP do you want to deploy this BOSH director on? > 10.4.0.4
What network should this BOSH director exist in (in CIDR notation)? > 10.4.0.0/24
What default gateway (IP address) should this BOSH director use? > 10.4.0.1
What DNS servers should BOSH use? (leave value empty to end) 1st value > 10.4.0.2 2nd value >
To properly configure the BOSH director, Genesis needs to know where we are deploying (what cloud provider / IaaS). This is AWS, so answer "2".
What IaaS will this BOSH director orchestrate? 1) VMWare vSphere 2) Amazon Web Services 3) Microsoft Azure 4) Google Cloud Platform 5) OpenStack 6) BOSH Warden
Select choice > 1
Now that Genesis knows we're in vSphere, it can ask more pointed questions about how we expect the BOSH director to access vCenter on our behalf. Have the information about your vSphere that we noted earlier on hand and these questions will be a breeze.
What is the IP address of your VMWare vCenter Server Appliance? > yourdirectorip
What username should BOSH use to authenticate with vCenter? > yourvsphereusrname
What is the password for the vCenter user? > password [hidden]: password [confirm]:
What vCenter data center do you want to BOSH to deploy to? > yourdatacenter_name
What vCenter cluster do you want BOSH to deploy to? > yourclustername
What vCenter resource pool (if any) do you want BOSH to deploy to? (default: none) > none or yourresourcepool_name
What data stores do you wish to use for ephemeral (OS) disks? (leave value empty to end) 1st value > yourdatastore_name 2nd value >
Do you wish to use these same data stores for persistent (data) disks? [y|n] > y
What is the name of the VM network in vCenter to deploy BOSH to? > yourVMnetwork_name
Would you like to edit the environment file? [y|n] > n
Finally, you'll be asked if you want to edit the environment file. You can safely say "no" here; we won't be customizing this proto-BOSH.
Now it is Genesis' turn to do some thinking and processing. You should see something that looks like this (depending on what you named your environment):
- auto-generating credentials (in secret/test/vsphere/BOSH)... -
auto-generating certificates (in secret/test/vsphere/BOSH)...
New environment test-vsphere provisioned!
To deploy, run this:
genesis deploy 'test-vsphere'
Genesis just generated all of the random passwords and required X.509 certificates that a functioning BOSH director needs.
Now all you have to do is run the genesis deploy command.
$ genesis deploy test-vsphere
When that finishes, follow the on-screen instructions and log into the BOSH director:
$ genesis do test-vsphere -- login Running login addon for test-vsphere Logging you in as user 'admin'... Using environment 'https://10.4.0.4:25555'
Email (): admin Password ():
Successfully authenticated with UAA
Succeeded
Then continue following the instructions to upload a stemcell.
BOSH Cloud Config is a file that specifies the details of the infrastructure that BOSH has available to deploy VMs to. It is one of the more arcane and esoteric parts of BOSH. On other infrastructures, Genesis provides the ability to use Terraform to provision the necessary resources for Genesis, and then output a corresponding cloud config. Since the use case for Terraform on vSphere is less straight-forward, one isn't provided and instead a starter cloud-config is provided here:
azs: - name: z1 cloud_properties: datacenters: - clusters: [z1: {}]
vmtypes: - name: default cloudproperties: cpu: 2 ram: 1024 disk: 3240 - name: large cloudproperties: cpu: 2 ram: 4096 disk: 30240
disktypes: - name: default disksize: 3000 - name: large disksize: 50000
networks: - name: default type: manual subnets: - range: CIDR-FOR-DESIRED-IP-BLOCK gateway: YOUR-GATEWAY-IP az: z1 dns: [YOUR-DNS-IP-ADDRESS(ES)] cloud_properties: name: YOUR-NETWORK-NAME
compilation: workers: 5 reusecompilationvms: true az: z1 vm_type: large network: default
Save this cloud config to a file named cloud-config.yml, fill in the placeholders with the values for
your infrastructure, and then run:
bosh -e test-vsphere update-cloud-config control-plane.yml